When it comes to window installations, achieving both functionality and longevity involves more than just securing the window in place. Proper flashing and sealing are critical elements that significantly affect the performance and durability of your windows. This guide will delve into the importance of window flashing and sealing, and how Marvin window installation instructions provide comprehensive guidance to ensure a successful installation.
Understanding Window Flashing
Window flashing is a thin, waterproof material that is installed to prevent water from entering through the joints and seams of windows. It acts as a barrier to divert water away from the window opening, providing an additional layer of protection beyond what the window itself offers. Flashing is essential in preventing water infiltration, which can lead to various issues such as mold growth, wood rot, and structural damage.
The Purpose of Sealing in Window Installation
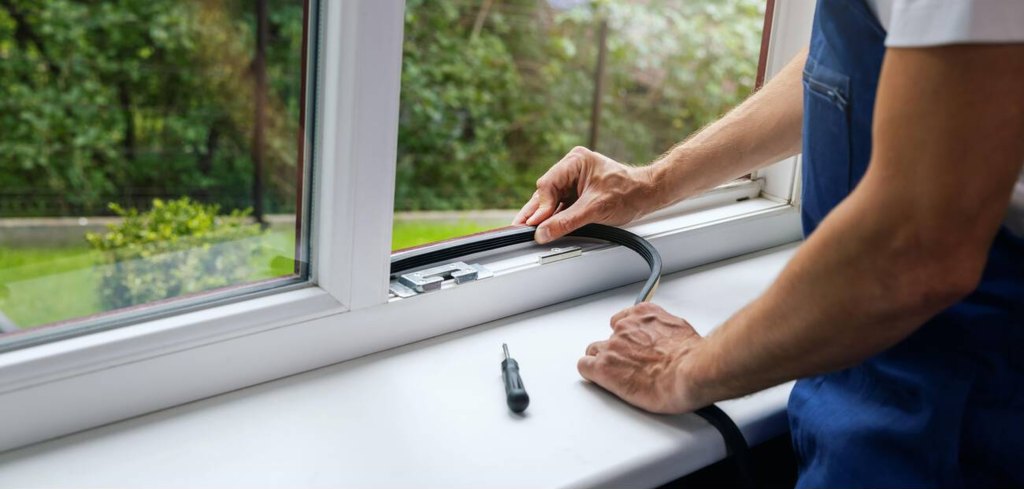
Sealing, on the other hand, involves applying sealants to close gaps and create a watertight and airtight barrier at the window perimeter. Proper sealing ensures that no drafts, moisture, or pests can enter through the small spaces between the window frame and the wall. Both flashing and sealing work together to create a comprehensive protective system that enhances the window’s performance and longevity.
Marvin Window Installation Instructions: Step-by-Step Guide
Marvin window installation instructions are well-respected for their thoroughness and clarity. Following these instructions meticulously can help ensure that your windows are installed correctly, with proper flashing and sealing. The following steps are typically included in Marvin’s guidelines:
- Preparation: Clear the area around the window opening and ensure the surface is clean and dry.
- Flashing the Sill: Apply the first layer of flashing tape along the sill (bottom) of the window opening to create a waterproof base. Extend the flashing slightly up the jambs (sides) to ensure full coverage.
- Installing the Window: Place the window into the opening and secure it according to the specified instructions, checking for level and plumb as you proceed.
- Flashing the Jambs and Head: Apply flashing tape along the jambs and head (top) of the window, ensuring it overlaps with the sill flashing. This step is crucial for creating a continuous barrier that directs water away from the window.
- Sealing the Perimeter: Use a high-quality sealant around the perimeter of the window frame, focusing on the corners and any gaps. Smooth the sealant for a consistent and professional finish.
- Final Inspection: Check that the window operates smoothly and that there are no gaps or voids in the flashing and sealing.
Importance of Proper Flashing
Proper window flashing is critical for several reasons. Firstly, it prevents water from entering the building envelope, which is the protective barrier that separates the interior environment from the exterior. Water infiltration can cause severe damage over time, leading to costly repairs and potential health issues due to mold and mildew.
The Role of Sealing in Energy Efficiency
Sealing is not just about keeping water out; it also plays a significant role in energy efficiency. Proper sealing helps to eliminate drafts, which can significantly impact heating and cooling costs. An effectively sealed window reduces the leakage of conditioned air, maintaining a stable indoor temperature and improving overall energy efficiency.
Common Mistakes and How to Avoid Them
Inadequate flashing and sealing are common mistakes that can undermine the effectiveness of window installations. One frequent error is failing to overlap the flashing tapes correctly, which can create gaps where water can penetrate. Another common oversight is using low-quality sealants that may crack or shrink over time. To avoid these issues, it is crucial to follow manufacturer guidelines, such as Marvin window installation instructions, that specify the appropriate products and techniques for flashing and sealing.
Long-Term Benefits of Proper Flashing and Sealing
Investing time and effort into proper flashing and sealing during window installation pays off in the long run. Well-installed windows with proper flashing and sealing can last longer, require fewer repairs, and maintain their appearance and functionality over time. Moreover, they contribute to the overall energy efficiency and comfort of your home, leading to cost savings on utility bills.
Conclusion
In conclusion, the role of window flashing and sealing in effective installation cannot be overstated. These elements are essential for preventing water infiltration, enhancing energy efficiency, and ensuring the longevity and performance of your windows. By adhering to Marvin window installation instructions, homeowners can achieve a high-quality installation that protects their investment and enhances their living environment. Proper flashing and sealing not only safeguard your home against the elements but also contribute to a more comfortable and energy-efficient living space. Whether you are a DIY enthusiast or hiring a professional, it is crucial to prioritize these aspects to achieve the best possible outcome for your window installations.

Leave a comment